Transparent background leaves a positive impact on a picture. It lets you create a new image by adding a transparent image perfectly. Sometimes, the colorful background of a picture disturbs the whole picture. That is why transparent backgrounds are really good for a picture. You can edit backgrounds on the Paint 3D app.
If you want to know how to make the background transparent in the Paint 3D app, then this article is for you. We will show you all about the Paint app and the process to create a transparent background. So let’s jump right into this topic.
What is Paint 3D?
Paint 3D is the updated version of Paint. Microsoft included it with the Classic Paint app when the Creators Update arrived. It supports pen input too. You can create objects, edit images, and logos. You can also convert 2D objects into 3D objects. Paint 3D app lets you create PNG images, logos, and transparent images. Let us show you how to create a transparent background on Paint and Paint 3D.
Transparent background on Paint
If you want to create a transparent background on Paint, then use the transparent selection tool with the free-form selection option. These tools are used to locate a part of your original picture that is retained while the rest of the picture becomes a transparent background. Let’s take an example. If you want to cut a part of an image to a different image or new background, then this method is the best for you.
You have to press the Ctrl + C key buttons together to copy the part of the picture that you want to copy in the new file to successfully transport any part of that picture. After that, press Ctrl + V altogether to paste that part of the image.
Transparent background on Paint 3D
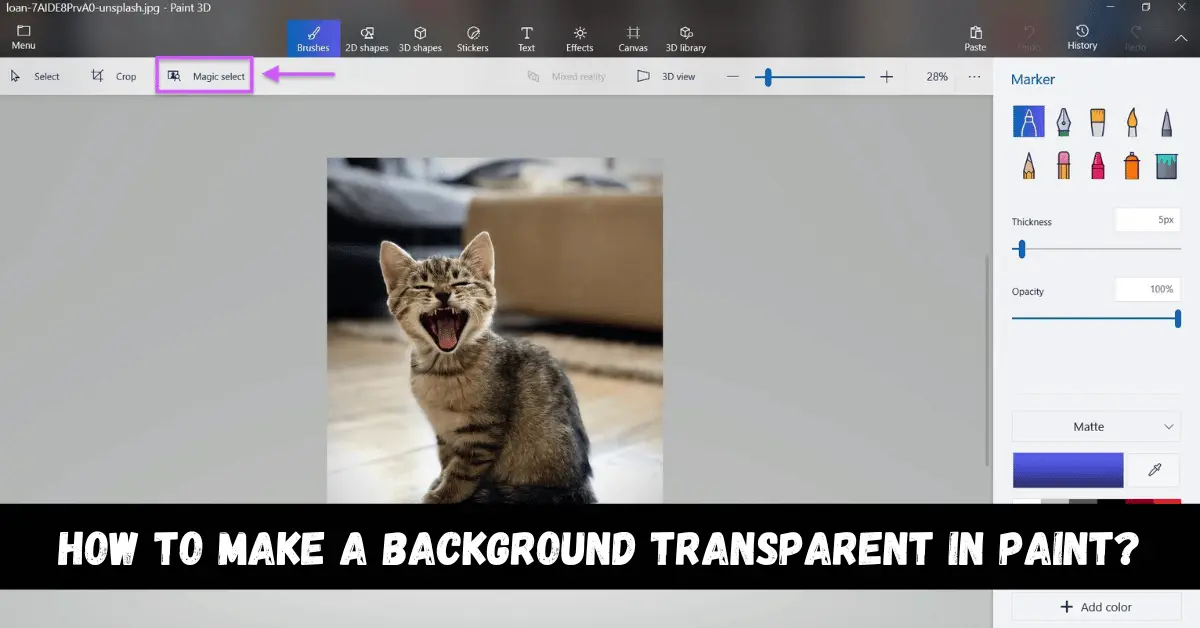
Paint 3D allows you to use the benefits of a lot of editing tools and layering features. Paint does not allow users to create a 3D layer, but you can use some other methods to create completely transparent areas. First, select the part that you want to remove in the background. After that, you need to add transparency.
Open the Paint 3D apps and select an image from your computer and click on the Canvas button. Select the Transparent Canvas option that is available on the sidebar to make sure that the areas that you remove are converted to transparency.
Isolate the specific area of your image that you want to make transparent by using the selection tool. Remove the specific transparent are by pressing Ctrl + X keys when the area is selected. You can supplement the transparent section of the picture by saving a quasi-transparent file and opening it in conjunction with another picture in the Paint app. The picture can be changed with transparency as needed to achieve the desired effect. You will be able to create highly complex image layers that are impossible to be achieved without transparency.
Conclusion
We hope that this article helped you make the background of your picture transparent in Paint. We showed you that process for both Paint and Paint 3D app. If you have any queries about this topic, then you can solve them by asking us in the comment section. We will answer you as quickly as possible. Let us know about the quality of this article in the comment section


Leave a Reply