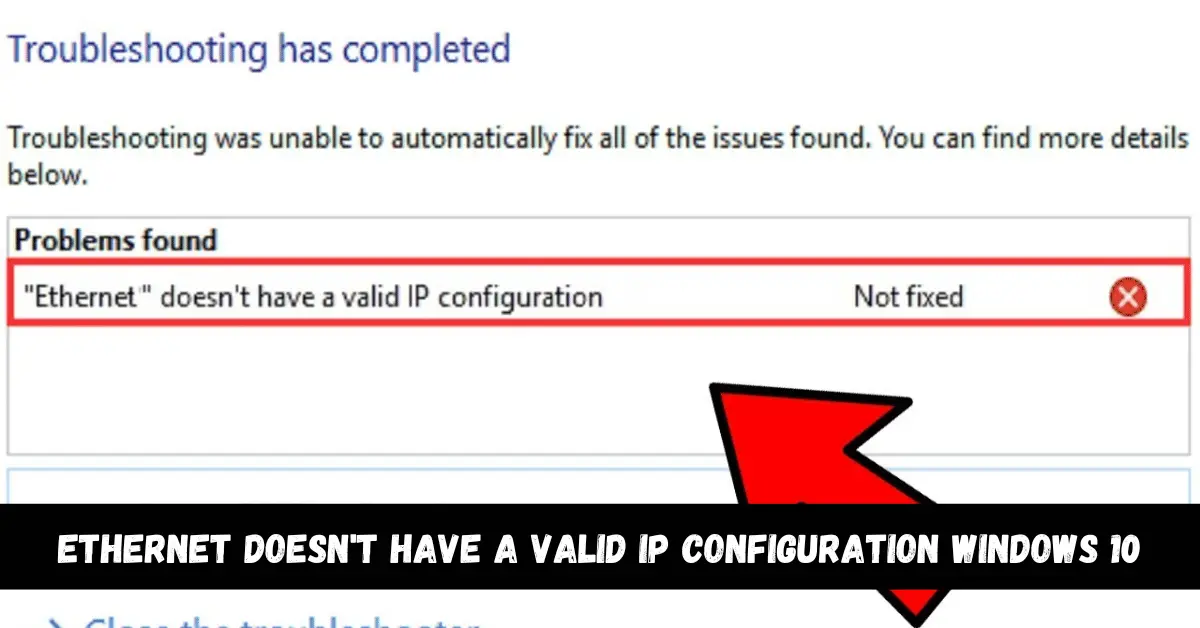
The Ethernet does not have a valid IP configuration error displays when your PC is unable to receive the valid IP address from the DHCP server. Your home network’s router is usually the server. Mostly, this error occurs when your router has a problem. If you are facing this issue on your PC. then this article will help you fix it. In this article, we will give you the full guide for solving the “Ethernet doesn’t have a valid IP configuration” issue. So let’s jump right into this article.
What is the cause of this issue?
If the problem is with your network interface card on NIC, then that can not be considered as a valid IP configuration for Ethernet. It is caused by an invalid IP address being caught by DHCP. A faulty driver or network configuration is mostly the cause of this issue. The fix is straightforward in these cases. But, if the fault is in your hardware, then you may have to replace your NIC. You will not be able to connect to the internet because of this issue. Let us show you some of the methods that can help you fix Ethernet.
Method 1: Update or reinstall network adapter drivers
Step 1
First of all, open the Device Manager on your Windows 10 PC. Use the Windows + R key to open the Run windows. Type “hdwwiz.cpl” in the section and hit Enter.
Step 2
Select the Network Adapter option in the Device Manager window to expand it. Then, right-click on your Network Card and click on Update Driver.
Step 3
Select the Automatically Search option. It will update the network to the latest version.
You can also uninstall in the second step to remove the Network Adapter Driver. After that, click on the Action tab in the Device Manager window and click on Scan for hardware changes to automatically search and download the latest version of the driver that is missing. You can also search the Manufacturer’s website to get the target driver manually. It will download and install the latest and compatible version of the driver on your computer.
Method 2: Run Windows Diagnostic tools
Windows Network Diagnostic tool is one of the fastest ways to fix any network-related problem. You can use the help of the network troubleshooter to diagnose and fix common connection problems. Let us show you how to do that.
Step 1
Press Windows + D keys on your keyboard. It will open the Windows Network Diagnostic tools.
Step 2
Right-click on the Connectivity icon in your desktop’s system tray.
Step 3
Select the problem for troubleshooting.
Step 4
The Windows Diagnostic tool will try to fix your issue. When it is done, confirm whether the repair was successful or not.
Method 3: Restart your computer
Restarting might seem a simple thing to do. But let us tell you that it helps you fix a lot of common problems. We have solved a lot of issues just by rebooting the computer. This process might also work for the Ethernet issue. So press the Windows icon at the bottom left corner of the screen. Press the Power button and choose Restart. It will restart your device.
Method 4: Flush your DNS
You can try flushing your DNS to fix the problem instead of resetting your Winsock protocol and your TCP and IP settings. It is a simple job. Let us show you how to do that.
Step 1
Open the command prompt on your computer.
Step 2
Type “ipconfig / release” and hit Enter.
Step 3
Then, type “ipconfig / flushdns” and hit Enter again.
Step 4
Type “ipconfig / renewal” and hit Enter.
The error should be fixed after this process. If it is not, then you should restart your computer. If it still did not fix the issue, then try another method.
Method 5: Check Network Adapter Settings
Sometimes the problem is caused due to the incorrect setting of computer network adapters. First, you have to make sure that your computer automatically receives IP addresses and DNS servers. It is a setting that is commonly found in your network adapters. Let us show you how to check Network Adapter Settings.
Step 1
First of all, press the Windows + R key on the keyboard of your PC.
Step 2
Type ncpa.cpl in the dialog box and click on Ok.
Step 3
Right-click on your Network Adapter and click on Properties in the Network Connection window.
Step 4
Click on Internet Protocol version 4 ( TCP / IPv4 ) and select Properties.
Step 5
Make sure that you obtain an IP address automatically.
Step 6
Also, make sure that you select the DNS server address automatically. After that, check whether the problem is solved or not.
Method 6: Disable Power Management Optimization
You can disable some computer functions to conserver power by using some power management settings. This can also be a cause of this error. You can try disabling the Power Management Optimization feature to check if it solves the issue. Follow the step-by-step guide to disable power management optimization.
Step 1
First of all, right-click on the Network icon in the system tray.
Step 2
Select the Open Network and Internet Settings option.
Step 3
After that, select the Network and Sharing Center and click on the Change Adapter Settings button.
Step 4
Right-click on your Internet connection click on the Disable option.
Step 5
Go to the Properties option after doing a right-click.
Step 6
Select the Configure option and click on the Power Management tab and disable the Allow the computer to power off this device to save power option.
Step 7
Click OK to apply changes.
Step 8
Again, right-click on your Internet connection and choose Enable. This might solve your problem.
If you have a third-party antivirus installed on your computer, then it is likely that it might cause the problem. You should disable it to check if the problem still occurs. We hope that this article helped you fix the “Ethernet doesn’t have a valid IP configuration Windows 10” issue. We explained six different methods to solve this issue. If you have any queries related to this article, then let us know in the comment section. We would love to help you.


Leave a Reply